
Warm Up This Winter!
Posted December 12, 2024
It’s getting kind of chilly and the leaves are beginning to fall, readying themselves to sleep until spring. That means it’s time to break out the warm and cozy drinks that are sure to help get us in the mood for any festivities you may have planned! You cannot go wrong with warm apple cider or homemade hot chocolate! Lucky for you, we have some easy recipes you can make your own this winter season!
Warm Apple Cider A delicious drink made in a slow cooker?
Say less! Hot mulled cider is a classic that even the kids will love! It’s not quite apple juice or sparkling Martinelli’s - it’s a drink that deserves to shine on its own!
• 1 gallon fresh apple cider or unfiltered apple juice
• 1 medium orange
• 1 (1 1/2-inch) piece fresh ginger
• 5 (3-inch) cinnamon sticks
• 1 tablespoon whole cloves
• Orange slices, for serving (optional)
Full recipe at: https://www.thekitchn.com/how-to-make-mulled-cider-in-the-slow-cooker-235029
Homemade Hot Chocolate
Know what will really knock the socks off your guests? Homemade hot chocolate! It’s not as daunting as it seems and you can always make it as chocolatey as you want!
• 1/2 cup sugar
• 1/4 cup baking cocoa
• Dash salt
• 1/3 cup hot water
• 4 cups whole milk
• 3/4 teaspoon vanilla extract
• Optional: Miniature marshmallows, sweetened whipped cream or cinnamon sticks
Full recipe at: https://www.tasteofhome.com/recipes/homemade-hot-cocoa/? srsltid=AfmBOooDxxswnYMz1GDRQo1x5AOki8J3vDIe-gH8FlOJS8sZvibQzrvg

Hiking in the Fall
Posted October 8, 2024
Don’t let these cooler temperatures prevent you from exploring! In fact, fall is one of the best time to hit the local trails with all the changing colors of leaves! We’ve put together a short list of trails that are appropriate for hikers of all ages. Please always remember to stretch and bring plenty of water, even with dipping temps!
Chamna Natural Preserve Trail This trail offers shade for those not wanting to be completely exposed to the elements. That being said, be prepared to share the paths with bikers, horse-riders, and joggers. You’ll stay a bit cooler next to the Yakima River, but there’s plenty to explore in this 276-acre park with more than 11 trails! https://tapteal.org/parks-preserves/chamna-natural-preserve/
Sacagawea Heritage Trail This 23-mile paved trail runs along the Columbia River, Lake Wallula, and a couple of Wildlife Preserves, weaving in and out of Pasco, Richland, and Kennewick! Of course you don’t have to commit to ALL 23-miles at once, but expect to see shrub steppe, various birds, and plenty of interpretive signs regarding our area’s natural history, culture, and historic events! https://www.wta.org/go-hiking/hikes/sacagawea-heritage-trail
Bateman Island Loop If you’re looking for a shorter walk, Bateman Island offers a 2.5-mile loop trail that takes an average of 45-minutes to complete. This area is quieter and you’ll likely see some eager fishermen along the banks, but it’s also home to bikers and bird-watchers. As with all trails, be sure to check if it’s tick season to avoid any unwelcome stowaways! http://hiketricities.com/bateman-island/

Fall into a comfortable temperature this Autumn!
Posted September 15, 2024
We live in a region that boasts 300 days of sunshine, so it’s no surprise we’re always bracing ourselves when it comes to the summer months. As we’re exiting the blistering triple-digit temps, we have some tips that will help you balance the cooling weather!
Increase your Greens
If you run hot, it’s never too late to add some potted plants inside, as it can knock a few degrees off your thermometer! Keeping plants inside also has some cooling benefits, as plants release extra moisture from their leaves back in the air when their environment warms up, according to a NASA study. Outdoor plants are dual-purpose, as adding some greenery can actually help block the heat from seeping in through your windows and roof, while also insulating your home when the temperatures start to sink!
Clear your HVAC Unit
Make sure your HVAC is free from tall grass, weeds or other allergens. Not only can these block airflow, but can get inside your unit, causing damage. Nothing is worse than need repairs when it’s super hot or freezing cold outside when most companies are busiest!
Grill More
We tend to stop using our ovens in the summer and opt for grilling outdoors. Not only does this get us outside more, but also helps keep the heat from accumulating inside! With fall just around the corner, we can start dusting off those soup, crockpot, or casserole recipes! If you have a screen door, you’ll soon be able to leave it open while you slow cook a delicious and hearty meal - plus your neighbors will be able to smell your amazing food!
Turn Your Ceiling Fans Counterclockwise
This is often easy to forget, but most modern ceiling fans have a cooling/warming switch. Make sure your fan is in the proper mode so you don’t end up confused as to why your rooms aren’t cooling/warming properly!

It's Strawberry Season!
If you visited the Middleton Strawberry Festival, you most likely came home with some delicious strawberries! Below are a few easy strawberry recipes. Enjoy!
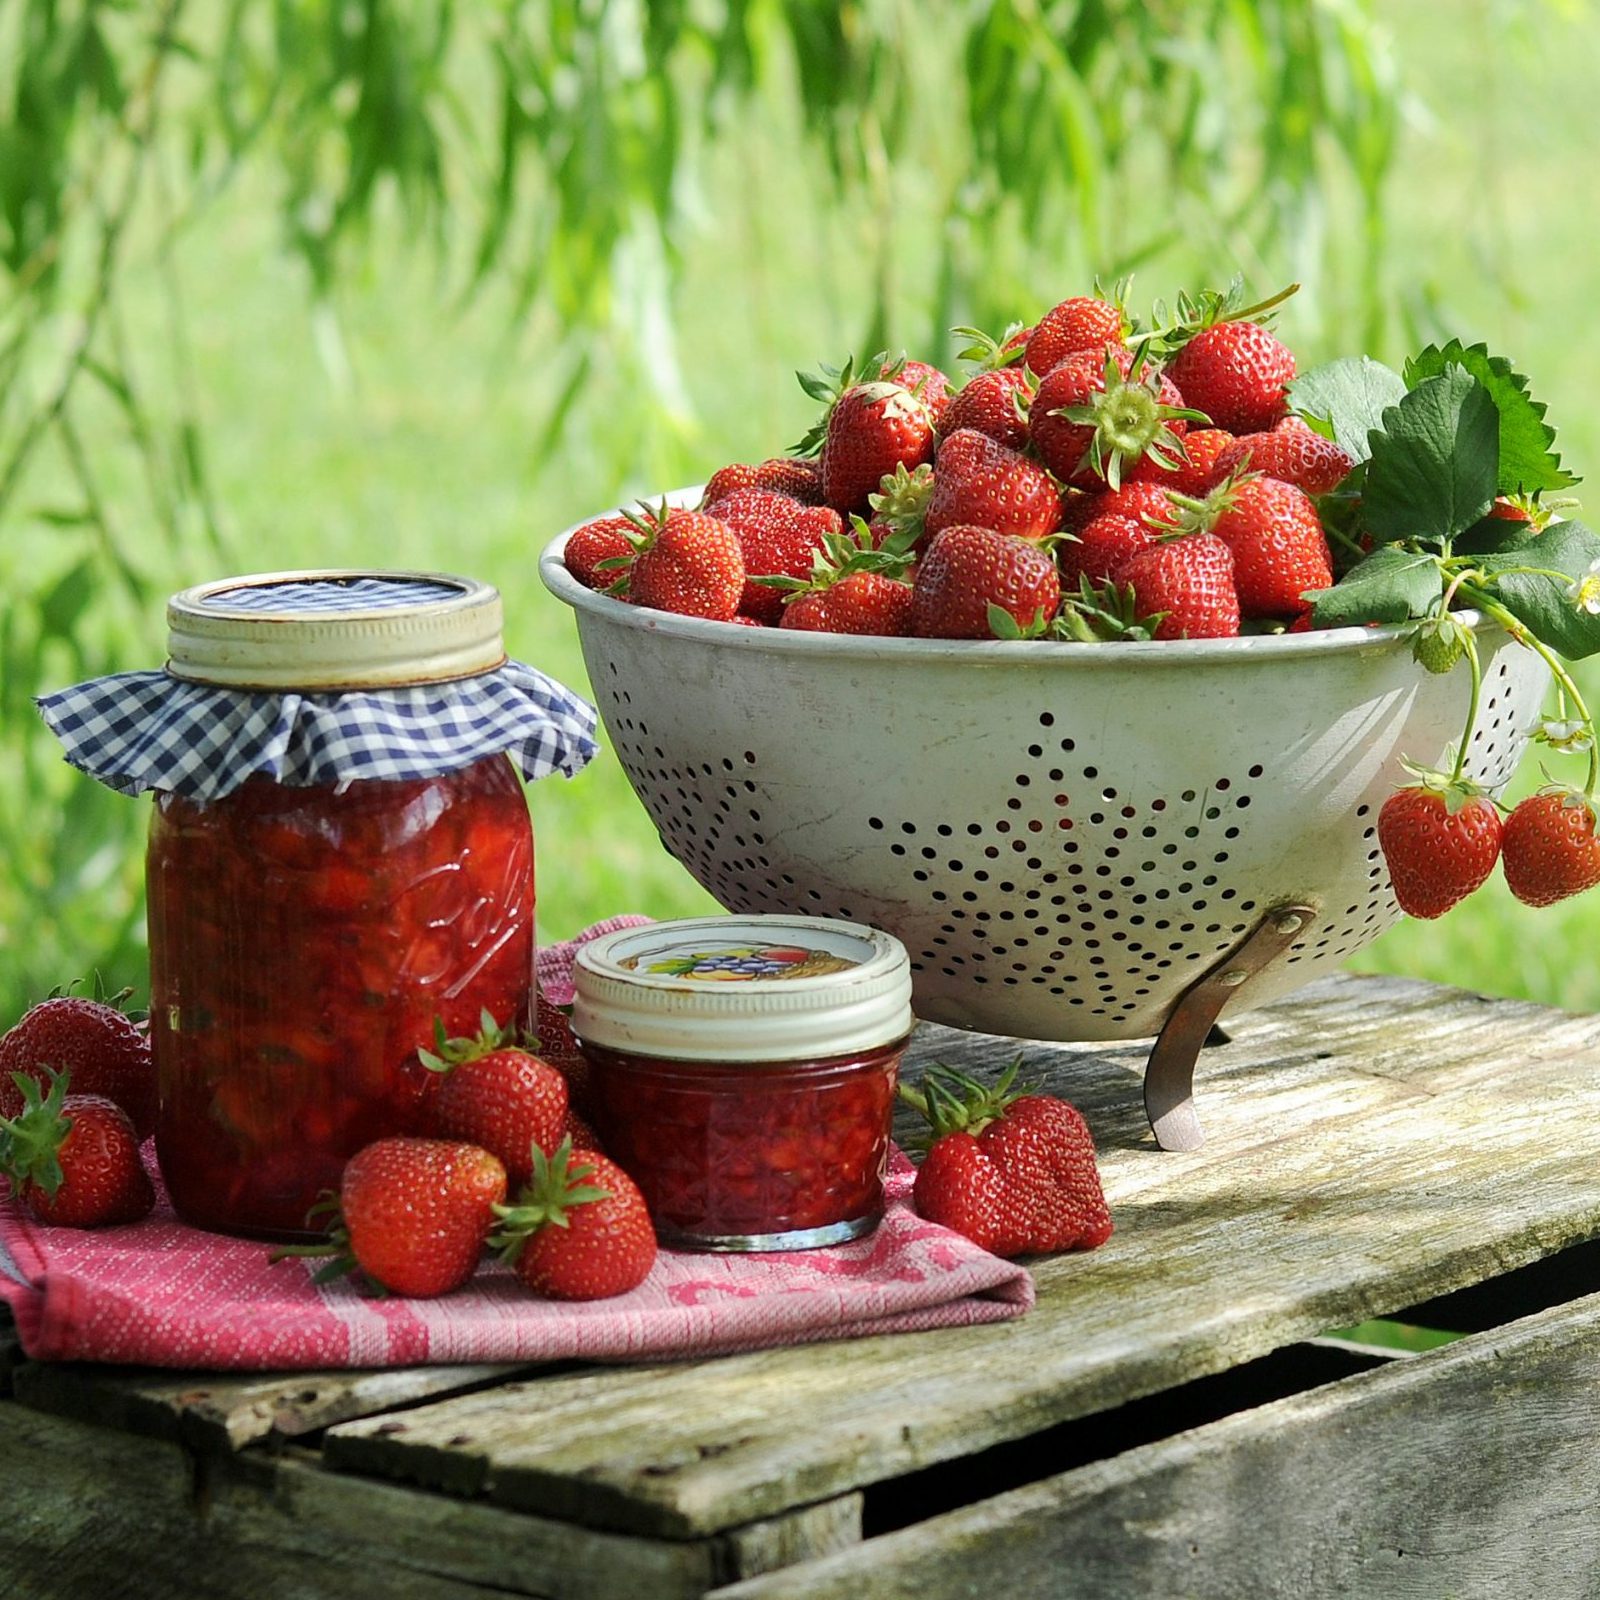
EASY STRAWBERRY JAM
INGREDIENTS:
16 oz strawberries, hulled and
coarsely chopped
3/4 cup of sugar
2 tablespoons lemon juice
DIRECTIONS:
In a heavy bottom saucepan, mix strawberries, sugar, and lemon juice.
Stir over med-low heat until the sugar is dissolved.
Increase heat to med-high and bring mixture to a rolling boil.
Stir frequently mashing the strawberries as you stir, continuing to boil,
until jam is thickened and bubbles completely cover the surface of the jam.
(about 10 minutes.)
Transfer jam to a jar and let cool to room temperature.
Seal jars and store in refrigerator for about 10 days (or freeze)

STRAWBERRY PIE
INGREDIENTS:
1 QTY 8-inch already made pie crust
2-3 quarts strawberries, washed and hulled, divided
½ cup sugar
1 ½ tablespoons cornstarch
2 tablespoons strawberry jam, homemade or store bought
DIRECTIONS:
Mash about 1 cup of the strawberries in a small saucepan.
Add the sugar and strawberry jam to the strawberries in the saucepan. Stir to dissolve.
Whisk in cornstarch, and cook over medium heat until bubbly and mixture begins to thicken, about 10 minutes. Set aside to cool.
Cut the remaining strawberries in half and place in large bowl.
After the cooked and mashed mixture is cooled completely, pour over the fresh strawberries, and fold together.
Pour all of the strawberries into the pie shell. Refrigerate for about 2-3 hours. Enjoy!

STRAWBERRY COBBLER
INGREDIENTS:
FILLING:
5 heaping cups fresh strawberries
hulled and quartered
1/4 cup granulated white sugar
1 teaspoon vanilla extract
3 Tablespoons cornstarch
TOPPING:
1 cup all purpose flour
3/4 cup old fashioned oats
2/3 cup granulated white sugar
2/3 cup packed brown sugar
1/2 teaspoon salt
3/4 teaspoon cinnamon
1/2 cup (1 stick) butter,, melted
DIRECTIONS:
Preheat oven to 350 degrees. Grease a deep dish pie plate or large baking dish with butter or cooking spray and set aside.
Combine the chopped strawberries and sugar in a large bowl and mix until the strawberries fully absorb the sugar. Add in the cornstarch and vanilla extract and stir until all of the strawberries are evenly coated. Pour into the prepared baking dish.
In a separate medium size bowl, combine the flour, oats, brown sugar, granulated sugar, salt, and cinnamon. Pour in the melted butter and stir well until well coated and crumbly. Sprinkle the crumb mixture evenly over the top of the strawberries.
Bake in the preheated oven for 35-40 minutes until fruit is bubbly and topping is golden brown. Allow to cool slightly before serving. Serve warm with vanilla ice cream on top. Enjoy!

Storage Tips For Any Kitchen
For many households, the kitchen is a magical place. It can turn into so many things - a safe haven, a battlefield, or even a temporary therapist office. This busy room helps you connect with your family and friends, via a warm meal, strong drinks, or a tasty dessert. As the weather gets warmer, and our lives get busier, here are a few tips to help keep your kitchen organized for any occasion!
POSTED: May 10, 2024
Use Clear Containers
Statement color pieces are nice for decor, but not so much for convenience. If you’re trying to find the stored spaghetti noodles or rice - you may be wasting time and energy. By using clear containers for items you frequently use, it helps you avoid the guessing game, as well as let you know when you’re running low on these items! You can also display identical glass jars on your counter or line your kitchen island. Fill them granola bars, roasted almonds, or dried fruit for easy-access snacks!
Use A Drawer Organizer
Needless to say, using a drawer organizer can help keep your utensils…well, organized! But what if we told you to use drawer organizers for that one junk drawer that lives in everyone’s kitchen? Instead of digging through piles of old soy sauce packets, random charging wires, and whatnot, invest in small clear plastic caddies of various sizes to help you keep that drawer contained. Let’s face it - that drawer will always be a mess, but by dividing it up with containers, it’s not a total disaster!
Get A Little Lazy
Under your sink can quickly become a land mine. Avoid banging your hands (and head) by placing a turn table ( AKA, a Lazy Susan) underneath your cleaning products. Instead of reaching around or knocking over other bottles, you can simply turn the small platform and find what you need, instantly!
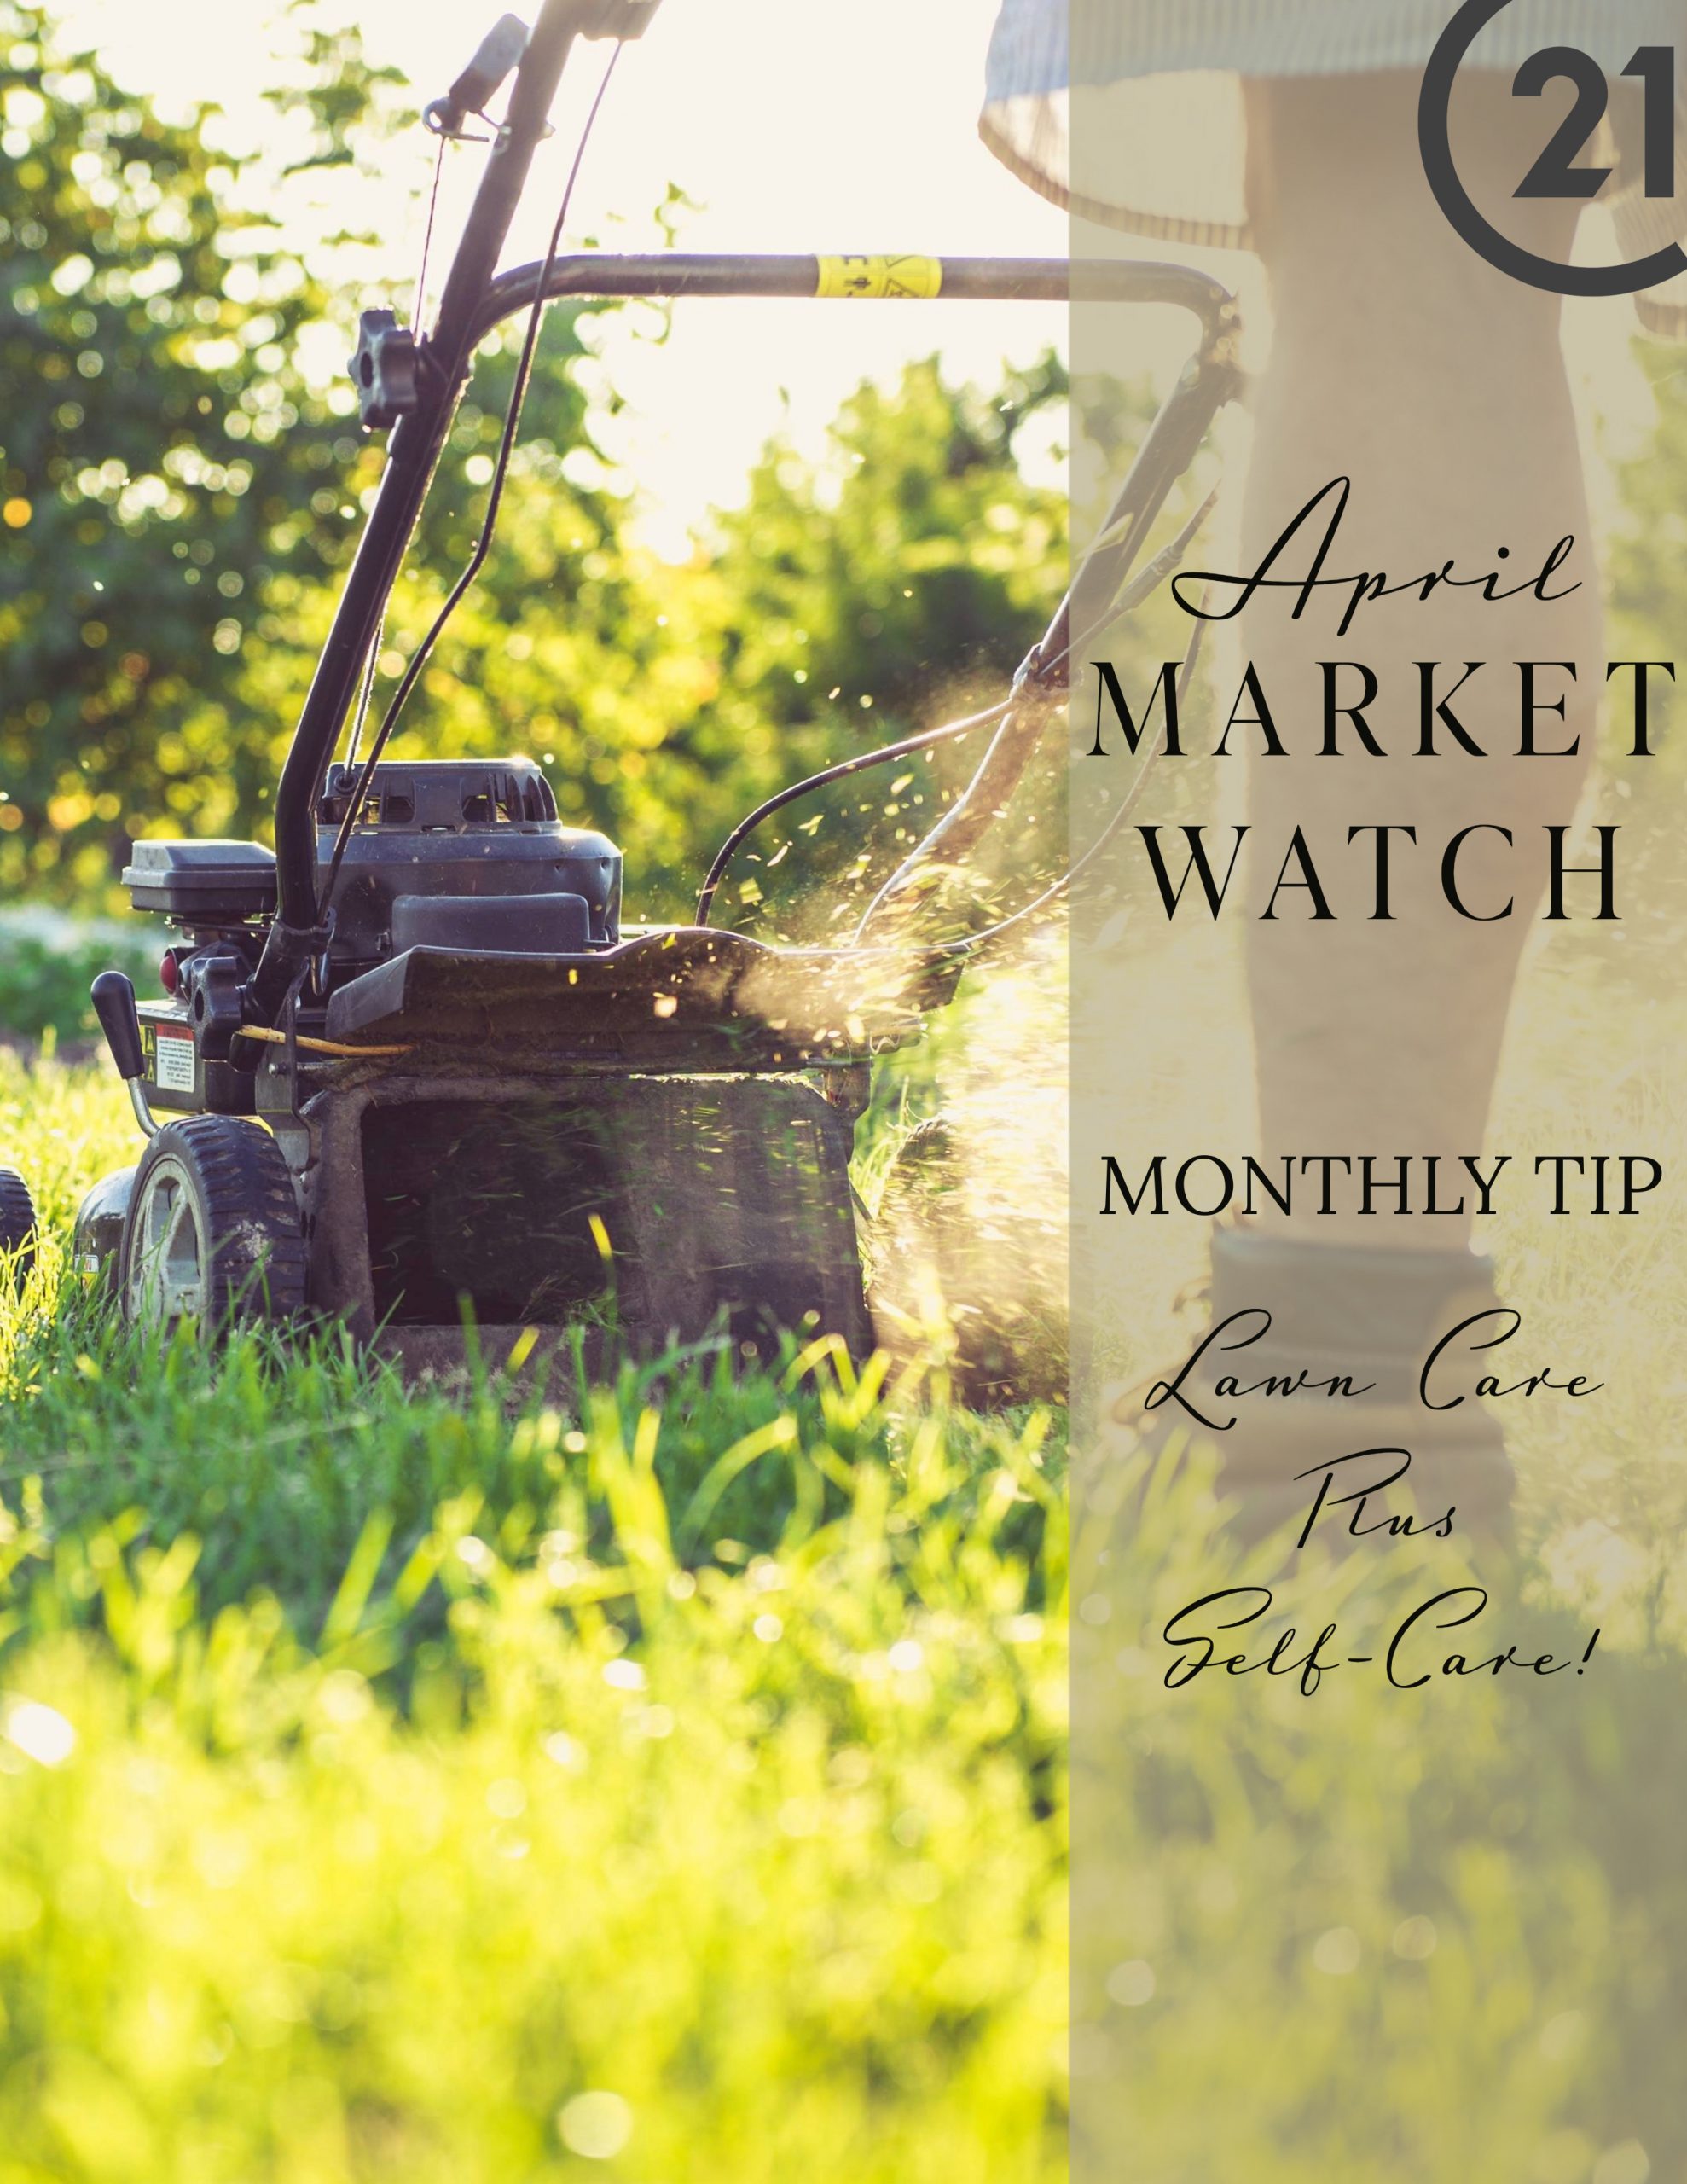
Lawn Care Plus Self-Care
POSTED: MARCH 12, 2024
Spring cleaning is never anyone’s favorite thing to do, but every year we promise to be better about this annual task. Well, we’re here to try and help make it a little more manageable…and possibly even fun? We have 3 tips for getting your lawn ready for spring - but for each step, make sure to give yourself a prize! We’ll place a couple suggestions of what these prizes could include - just remember, you’ve earned it!
Prep Your Tools
There’s nothing worse than dragging your lawn mower out and discovering it needs some maintenance. Avoid this by getting a head start on prepping your tools. Take an hour over the weekend to inspect your mower, trimmer, or leaf blower. Are your batteries still charging? Do you need gas or oil? Now is the time to make sure you’re ready to go! PRIZE: You should be feeling pretty great after prepping your tools, so enjoy being outside a bit longer by taking a short walk around your block. You’ll be able to see your neighbors getting their yards ready as well, making you feel even better for staying on top of it!
Clean Up
In addition to removing any weeds or branches that may be resting on top of your lawn - be sure to rake your yard. Raking helps loosen matted grass clumps, allowing for proper aerating later on. Aerating helps increase oxygen and water cycling through your soil, making for happy and healthy grass! PRIZE: After raking/aerating your lawn, rehydrate with a cool class of Top Chico Seltzer. Add fresh berries or orange slices for an extra boost!
Just A Trim
If your lawn is still wet or muddy, or if the weather is still chilly, refrain from giving your lawn that initial first spring mow. However, if the weather is warming up, you can give your lawn a little trim to help jump-start it for spring! But remember - just take a little off the top, with your mower on its highest setting furtherest away from the ground. PRIZE: After a light mow, we believe ice cream is needed! Grab some soft serve from your favorite frozen yogurt joint - and don’t skimp on the toppings!

Prepping Your Spring Garden
We don’t know about you - but we’re ready to start gardening!
Here are 3 tips to help get your green thumb going - even if the weather is still a little brisk!
POSTED: MARCH 13, 2024
Invest in your soil. You invested in your home, now it’s time to invest in your garden. When it comes to soil, not all dirt is the same. Generally, placing compost/manure on top of your gardening soil is a great way to keep your emerging plants healthy and ensure they are getting the proper nutrients. Sprinkle some slow-release plant food on top, and if you’re feeling extra, head over to your local plant nursery for a carton of earthworms, who will help break down the soil (in a good way) for you!
Plant Your Borders There are plenty of cool-weather loving plants that are perfect for planting first. Did you know that if you plant flowers in the corner of your vegetable boxes, you’ll attract pollinators who will help you yield more bounty come spring/summer! Here’s a list of cool-weather plants: https://www.provenwinners.com/learn/landscaping/ten-solutionscool-weather-plantings
Start Seeds Indoors Did you know you can start planting as early as January? Prep those indoor seeds, such as bell peppers, broccoli, and herbs indoors where you can keep them out of the frost - otherwise wait until the ground heats up more in March or April. For best results if you’re keeping them in a garage or storage room, cover your soil with plastic wrap to keep moisture and heat in. Use a spray bottle to keep the surface moist. Once the seeds starts sprouting, remove the plastic wrap and begin watering to the root to help with growth. When outdoor temps are reasonable, place plants in your planter boxes! Check the planter’s almanac for best results: https://www.almanac.com/gardening/planting-calendar

Red Flags in Real Estate
POSTED: FEBRUARY 13, 2024
While we’re patiently waiting for spring to bring back some greenery - we’re focusing on the color red for a second. Here are 3 RED flags to look out for when trying to find your dream home!
THERE AREN’T MANY PHOTOS
If a house you’re interested in doesn’t have a lot of photos available, there could be multiple reasons - none of them good. For the most part, the seller is trying to limit what viewers see, in hopes they’ll come out in person and possibly overlook what’s wrong with the home. Trust a brokerage that doesn’t hide behind a curtain, but provides you with all the information upfront - even if the home needs some TLC.
YOU SEE WATER STAINS
If you see a stain, make sure you ask questions. If those questions cannot be answered - be sure to request a follow-up. Stains can mean there once was water, which could mean mold. There’s also the threat of a weakened structure. Water is great for plants - not so good for the inside of your home.
THERE ARE A LOT OF DIY ADDITIONS
We love a good DIY project - and oftentimes they can help elevate your home. But sometimes people cut corners by trying to DIY major parts of their home. Is that window frame really caulked and sealed, or did they just paint over it? Does that updated shower have proper draining, or is that water collecting underneath your floor without you knowing? Again, ask a lot of questions and get an inspection!

New Year New You!
Three New Year Resolutions To help you buy your dream home in 2024!
POSTED: DECEMBER 15, 2023
We know it’s always hard to keep your New Year resolutions - but when it comes to your future home, we think it’s worth putting in a little extra effort! Here are three resolutions we think you can maintain, ultimately leading you into a bright New Year!
1) Don’t fall in love at first sight! It’s easy to get caught up in a home’s exterior or flashy features - but don’t let that blind you from seeing a house for what it’s really worth - blemishes and all! Sure, the kitchen may have been outfitted with the latest appliances, but the ceiling water stains shouldn’t be overlooked.
2) Get pre-approved before you start shopping! Line-up your financing before setting one foot inside a house on the market - otherwise you’re setting yourself up for disappointment. Sit down with a lender and have a lengthy discussion on what you can and can’t afford. Just because you’re approved by the bank for a certain amount doesn’t mean you can automatically live a certain lifestyle. Stay in your budget - your REAL budget - of what is feasible.
3) Easy on the pocketbooks. With the holiday season in full swing, we tend to go a little overboard doting on ourselves and loved ones. Makes sure to keep on top of your credit card debt and not miss major payments. These can count against you when it comes to not only getting approved for a loan, but also closing on your dream home.

DIY Garlands For The Holidays!
POSTED: NOVEMBER 15, 2023
Before we dive into one of the most festive months of the year - we’ve still got a LOT to be thankful for! That doesn’t mean we can’t spruce up the house with some DIY garlands that are perfect for ALL the holidays!
Add a touch of citrus to your home with this dried orange garland. Add sliced grapefruits for varied sizes, or head to your local craft store for wooden beads to string in between the slices. It’s a cute and delicious smelling decoration you can enjoy through the New Year!
DIY Instructions Here: https://www.aliceandlois.com/diy-dried-orange-garland/
Want a DIY project that looks expensive? Turn plastic plants into golden wreaths or garlands with just a can of spray paint! Alternate between gold and silver if you want to mix it up! With these, the simpler, the better!
DIY Instructions Here: https://sugarandcloth.com/diy-golden-wreath-garland/
Have some extra yarn hanging around? Add some bobby pins and you’ve got the start of a really adorable garland! This DIY project calls for a pom pom maker, but it’s not necessary, making this so easy you could get your kids involved! If you don’t have extra yarn, head over to your favorite craft store and pick out some fall/winter colors that match your holiday theme!
DIY Instructions Here: https://jojotastic.com/2017/12/04/festive-pom-pom-garland-diy/

 Facebook
 X
X
 Pinterest
 Copy Link
